
How to Add a Testimonial Module to Your Page
Before you can add a image module to your page, you will first need to jump into the Divi Builder. Login to your WordPress Dashboard and navigate to the page you want to edit.
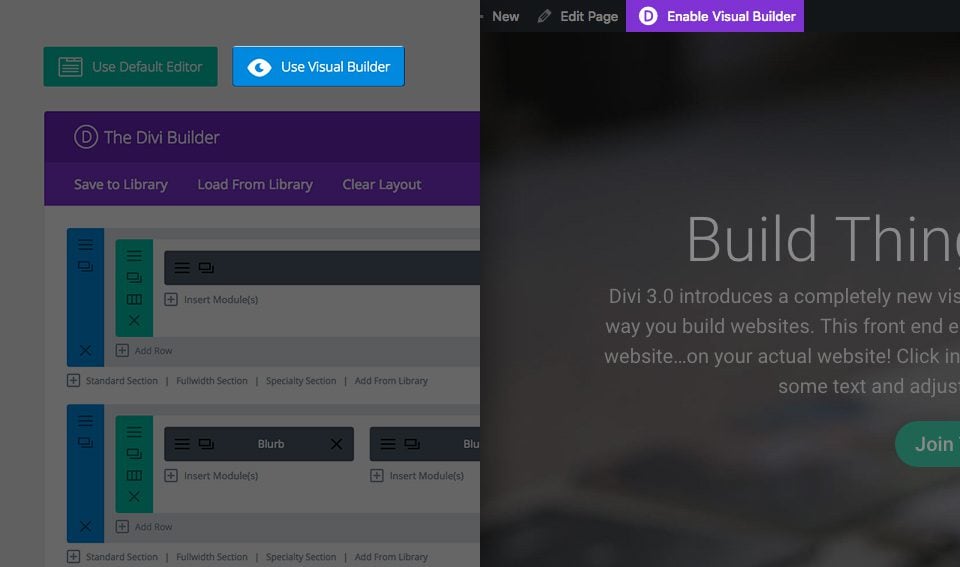
Once you have entered the Visual Builder, you can click the gray plus button to add a new module to your page. New modules can only be added inside of Rows. If you are starting a new page, don’t forget to add a row to your page first. We have some great tutorials about how to use Divi’s row and section elements.
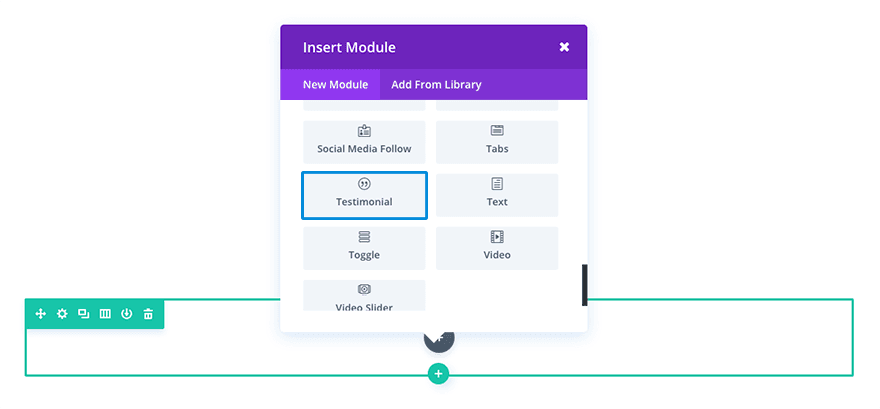
Locate the testimonial module within the list of modules and click it to add it to your page. The module list is searchable, which means you can also type “testimonial” and then hit enter to automatically find and add the testimonial module! Once the module has been added, you will be greeted with the module’s list of options. These options are separated into three main groups: Content, Design and Advanced.
The Testimonial Module Content Settings
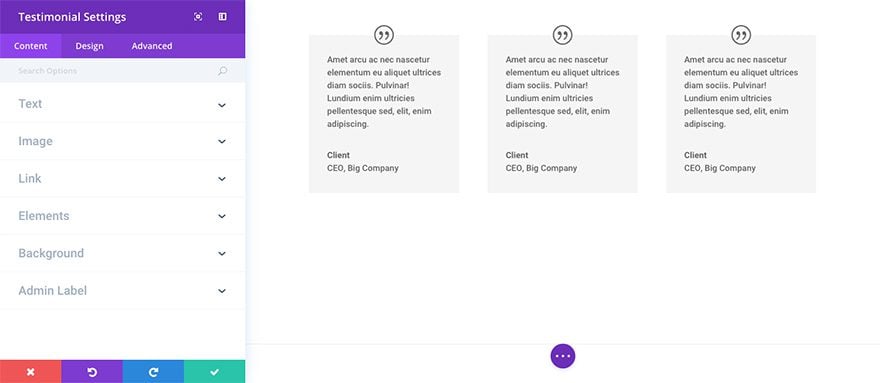
The content tab settings are further organized into groups which you can toggle open to reveal more options. This makes finding the setting you’re looking for much easier. You can also use the search bar at the top to search all settings tabs at once for whatever setting you want. It will take you right to it!
Text
This is where you’re able to add the testimonial author’s name, job title, company, and the testimonial content itself.
Image
If you have a profile picture or some other type of image to accompany your testimonial this is where you will add it.
Link
Here you can add the author or company url and control how it opens.
Elements
Here you can choose to make the quote icon visible or hidden.
Background
Here you can choose to add a background color or image to your testimonial.
Admin Label
In this dropdown you can add an admin label that will appear in the back end builder as well as the visual builder’s skeleton view.
The Testimonial Module Design Settings
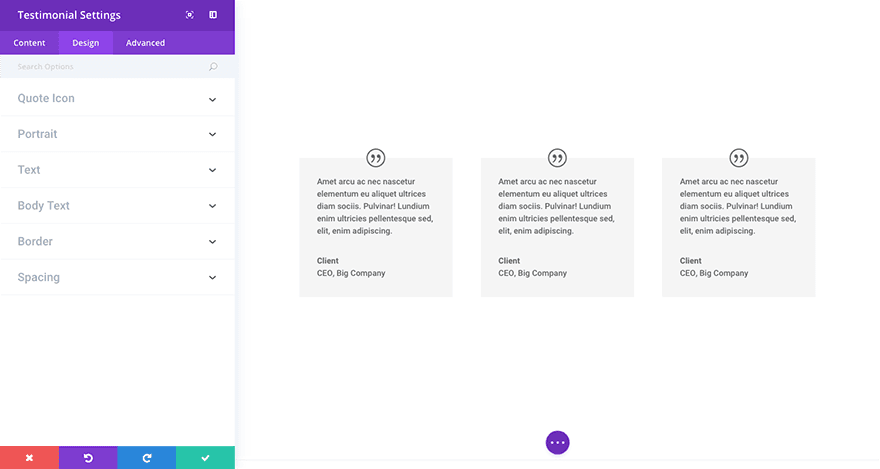
The design tab settings are organized into the following groups to make finding the setting you’re after easy. And remember, you can also use the search bar to find any setting even faster!
Quote Icon
This is where you’re able to adjust the quote icon’s color.
Portrait
The portrait settings allow you to adjust the border radius, portrait width, and portrait height for the image you may have added in the content tab.
Text
These settings allow you to change the text color and orientation.
Body Text
These settings allow you to adjust the body text font, weight, size, color, spacing, line height, and more.
Border
Here you can choose to use a border. And if you do choose to use a border, you’re also able to select it’s color, change it’s width, and choose it’s style.
Spacing
In the spacing area you’re able to add custom padding to the top, right, bottom, or left of the testimonial. You can also change these values for desktop, tablet, or mobile devices.
The Testimonial Module Advanced Settings
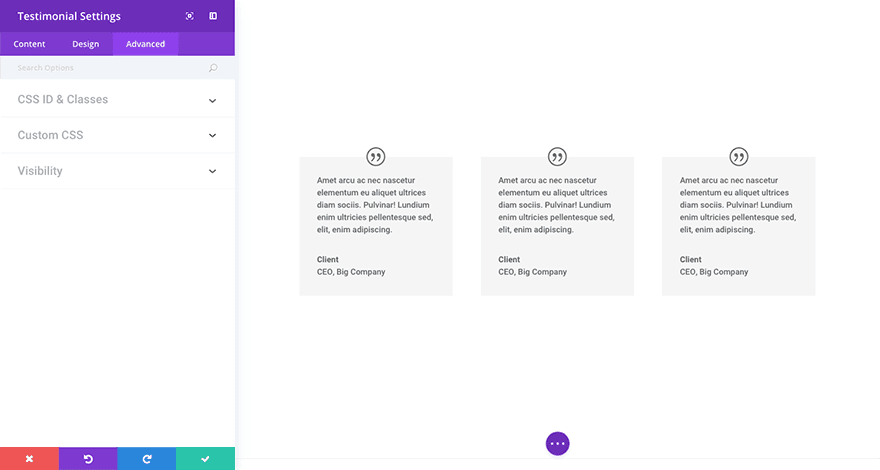
In the Advanced tab of your testimonial module you are able to add a unique css id and class. You are also able to add custom css to various pre-defined (and pre-selected) css selectors within the video slider module in the custom css dropdown. And finally in the visibility dropdown you are able to adjust the visibility of your module on phones, tablets, and desktops.