
Add/Edit Content on a Page
The three basic
building blocks Sections,
Rows and Modules are used
to build your
page.
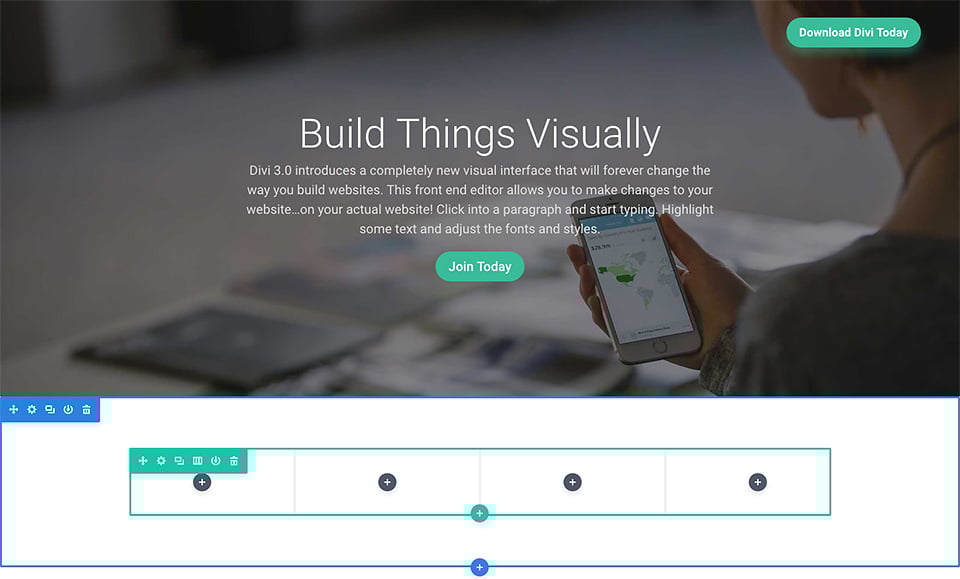
Adding a Section
Before you can add
anything to your page, you
will first need to add a
section. Sections can be
added by clicking the blue
(+) button. When you hover
over a section that
already exists on the
page, a blue (+) button
will appear below it. When
clicked, a new section
will be added below the
section you are currently
hovered
over.
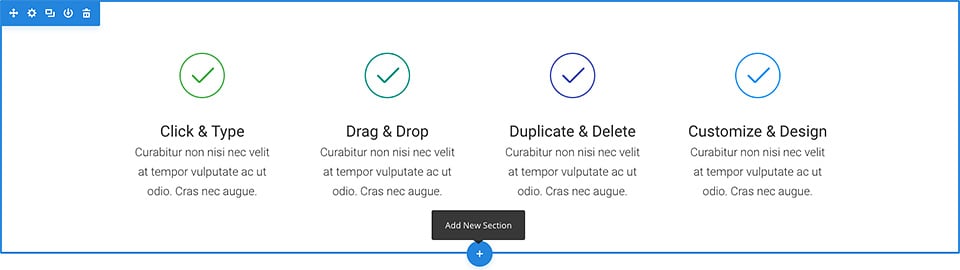
If you are starting
a brand new page, then
your first section will be
added
automatically.
Adding a Row
After you have
added your first section
you can start adding rows
of columns inside of it. A
section can house any
number of rows, and you
can mix and match rows of
varying column types to
create a variety of
layouts.
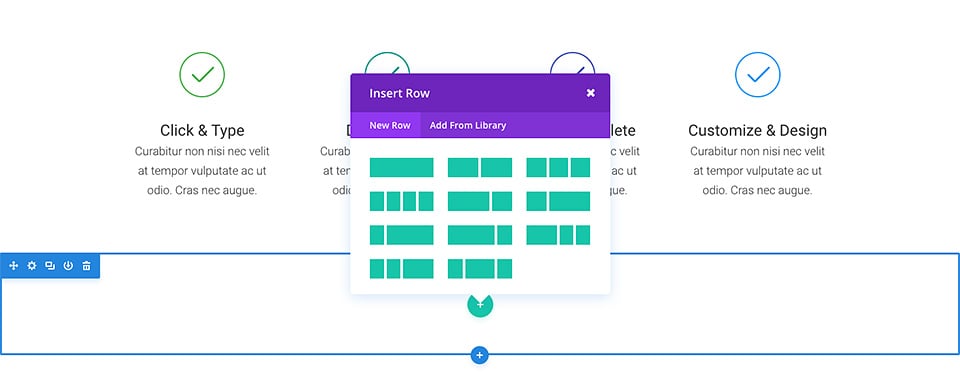
To add a row, click
the green (+) button
inside of any empty
section, or click the
green (+) button that
appears when hovering over
any current row to add a
new row below it. Once you
have clicked the green (+)
button you will be greeted
with a list of column
types. Choose your desired
column and then you are
ready to add your first
module.
Adding a Module
Modules can be
added inside of rows, and
each row can house any
number of modules. Modules
are the content elements
of your page, and Divi
comes with over 40
different elements that
you can use to build with.
You can use basic modules
such as Text, Images and
Buttons, or more advanced
modules like Sliders,
Portfolio Galleries and
eCommerce Shops. We have
individual tutorials for
every single Divi module,
so if you want to learn
more about the types of
modules that Divi provides
then be sure to head back
to
the main
document
page and
browse through the
“Modules”
section.
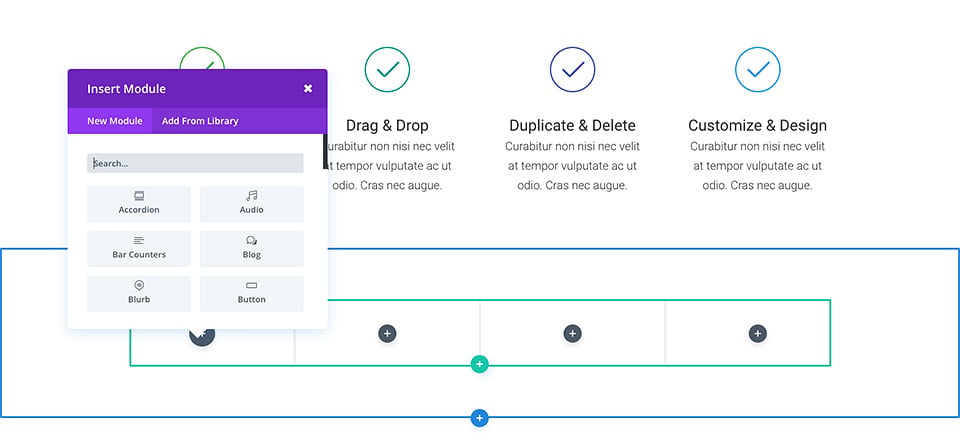
To add a module,
click the gray (+) button
that exists inside of any
empty column or click the
gray (+) button that
exists when hovering over
a module on the page to
add a new Module below it.
Once you have clicked the
button, you will be
greeted by a list of
modules. Pick your desired
module and it will be
added to your page and the
settings panel for the
module will appear. Using
this settings panel, you
can begin configuring your
module.
Configuring And Customizing Sections, Rows
And Module
Each section, row
and module can be
customized in various
ways. You can access an
element’s settings panel
by clicking the gear icon
that exists when hovering
over any element on the
page.
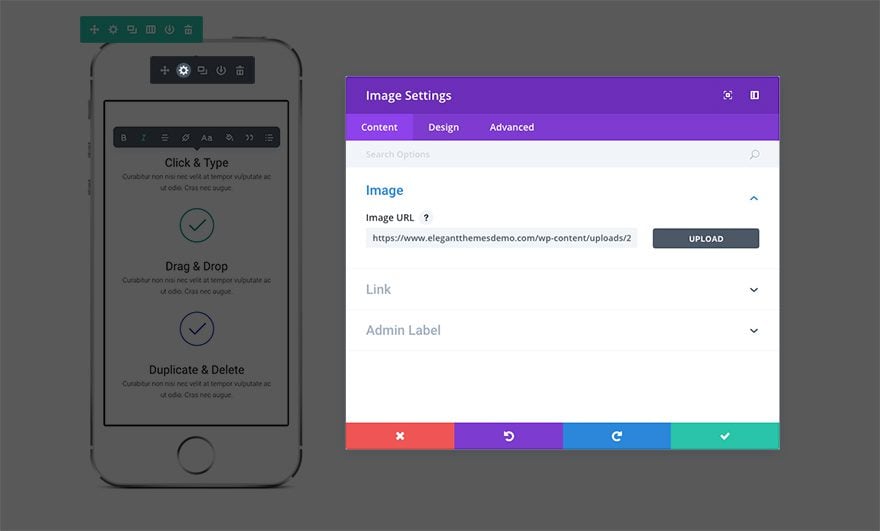
This will launch
the settings panel for the
specified element. Each
settings panel is broken
up into three tabs:
Content, Design, and
Advanced. Each tab is
designed to make accessing
and adjusting Divi’s large
variety of settings quick
and easy. The Content tab
of course is where you can
add content such as
images, video, links, and
admin labels. The Design
tab is where we’ve place
all of the built-in design
settings for each element.
Depending on what you’re
editing you can control a
wide variety of design
settings with a click;
including: typography,
spacing (padding/margin),
button styles, and more.
For an in-depth look at
the Design tab, take a
look at
our design
settings tutorial.
Finally, if you want even
more control you can head
over to the Advanced tab
where you can apply custom
CSS, adjust visibility
based on device, and
(depending on which
element you’re editing) do
even more fine
tuning.