
How To Add A Social Media Module To Your Page
Before you can add a image module to your page, you will first need to jump into the Divi Builder. Login to your WordPress Dashboard and navigate to the page you want to edit.
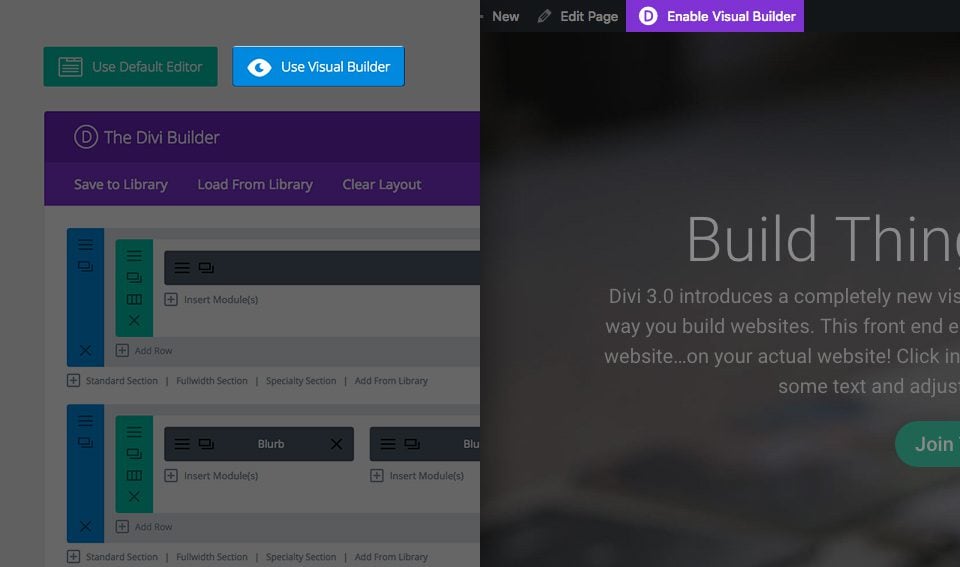
Once you have entered the Visual Builder, you can click the gray plus button to add a new module to your page. New modules can only be added inside of Rows. If you are starting a new page, don’t forget to add a row to your page first. We have some great tutorials about how to use Divi’s row and section elements.
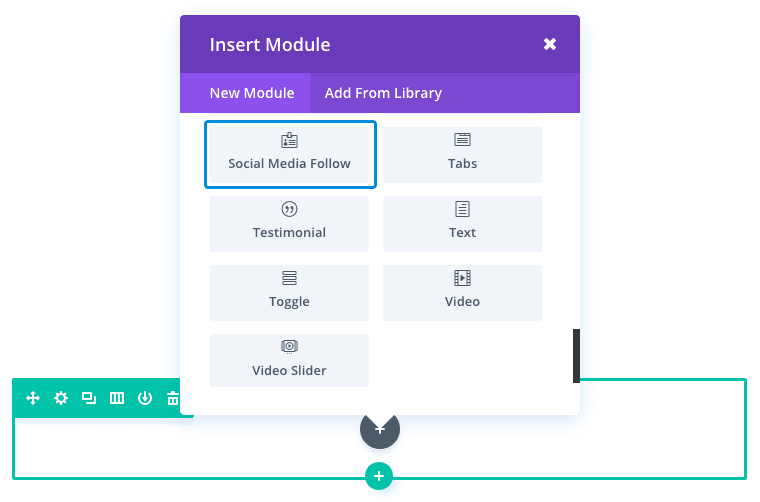
Locate the social media module within the list of modules and click it to add it to your page. The module list is searchable, which means you can also type the word “social media” and then click enter to automatically find and add the social media module! Once the module has been added, you will be greeted with the module’s list of options. These options are separated into three main groups: Content, Design and Advanced.
Social Media Content Options
Within the content tab you will find all of the module’s content elements, such as text, images and icons. Anything that controls what appears in your module will always be found within this tab.
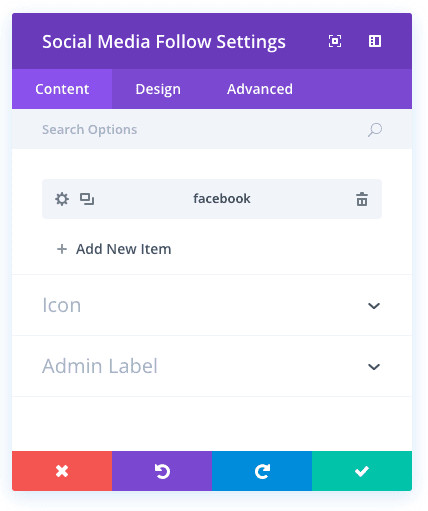
Add New Item
This is where you add new networks to your module. Clicking “add new item” will open a completely new window of options specific to your new network (under Content, Design, and Advanced tabs). See below for individual social media network settings.
After you add your first network, you will see a gray bar appear with the title of your network shown as a label. The gray bar also has three buttons that allow you to edit, duplicate, or delete the network.
Link Shape
Here you can choose the shape of your social network icons to either rounded rectangle or circle.
Url Opens
Choose to open your network url in a new tab or in the same window.
Follow Button
Here you can choose whether or not to include the follow button next to the icon.
Admin Label
This will change the label of the module in the builder for easy identification. When using WireFrame view in the Visual Builder, these labels will appear within the module block in the Divi Builder interface.
Social Media Design Options
Within the design tab you will find all of the module’s styling options, such as fonts, colors, sizing and spacing. This is the tab you will use to change how your module looks. Every Divi module has a long list of design settings that you can use to change just about anything.
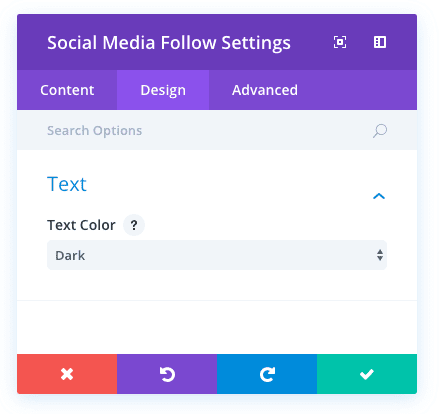
For this module, the Design options consist of only one item – Text Color.
Text Color
Here you can choose whether your text should be light or dark. If you are working with a dark background, then your text should be light. If your background is light, then your text should be set to dark.
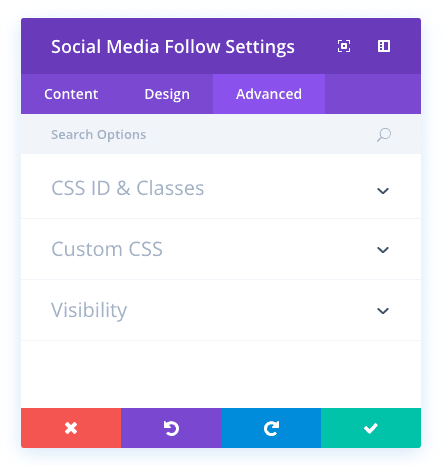
Social Media Advanced Options
Within the advanced tab, you will find options that more experienced web designers might find useful, such as custom CSS and HTML attributes. Here you can apply custom CSS to any of the module’s many elements. You can also apply custom CSS classes and IDs to the module, which can be used to customize the module within your child theme’s style.css file.
CSS ID
Enter an optional CSS ID to be used for this module. An ID can be used to create custom CSS styling, or to create links to particular sections of your page.
CSS Class
Enter optional CSS classes to be used for this module. A CSS class can be used to create custom CSS styling. You can add multiple classes, separated with a space. These classes can be used in your Divi Child Theme or within the Custom CSS that you add to your page or your website using the Divi Theme Options or Divi Builder Page Settings.
Custom CSS
Custom CSS can also be applied to the module and any of the module’s internal elements. Within the Custom CSS section, you will find a text field where you can add custom CSS directly to each element. CSS input into these settings are already wrapped within style tags, so you need only enter CSS rules separated by semicolons.
Visibility
This option lets you control which devices your module appears on. You can choose to disable your module on tablets, smart phones or desktop computers individually. This is useful if you want to use different modules on different devices, or if you want to simplify the mobile design by eliminating certain elements from the page.
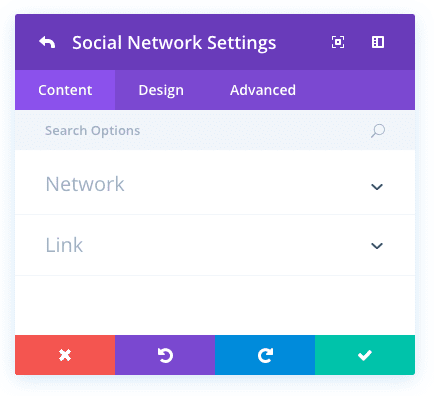
Individual Social Media Content Options
Social Network
Here you can choose the social network you are wanting to display.
Account URL
This is where you enter the URL for this social network link. If you chose Facebook as your network, this is where you would put the URL of your Facebook page.
Individual Social Media Design Options
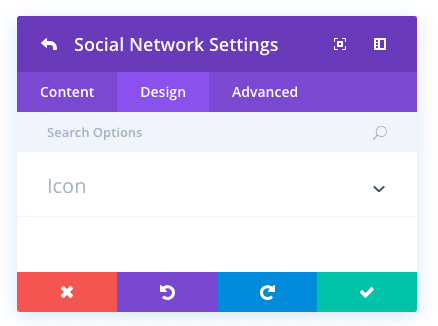
Icon Color
Divi conveniently has the standard colors for each social network set by default. Here you can easily change this icon color to whatever you want.
Individual Social Media Advanced Options
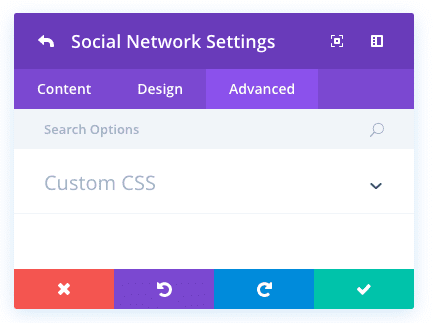
Custom CSS
Custom CSS can also be applied to the module and any of the module’s internal elements. Within the Custom CSS section, you will find a text field where you can add custom CSS directly to each element. CSS input into these settings are already wrapped within style tags, so you need only enter CSS rules separated by semicolons.